

You’ve probably stumbled across this article because you want to set up your own website. Great, this article shows you step by step how to setup a website using WordPress.
WordPress you say? Well, WordPress is a Content Management System that allows you to create beautiful websites. It’s my number one recommended website-building tool.
Why Choose WordPress? I choose WordPress because it’s…
- Trusted – Used by 40% of websites on the internet
- User Friendly
- FREE
- Flexible so you can make it suit any style or business
You can start a website in these easy steps
- Setup a Bluehost Account
- Install WordPress
- Learn and Tweak the WordPress Dashboard
- Customize Your Theme
- Setup Plugins
- Setup Pages
- Navigate With Menus
Now that you have an overview of the process. Let’s get into the fun stuff. It’s time to actually set up your website and make your online presence a reality.
Step 1. Setup a Bluehost Account
The first thing you need to do is to choose a host. A hosting company provides servers for you to put your website on so it’s accessible to internet users.
The webhost I recommend is Bluehost. All my websites including many clients I’ve worked with use Bluehost. It’s fast, reliable, and affordable. Also, Bluehost is the number one recommended host from the creators of WordPress.
WordPress is by far the best Content Management System in the world. It is used by nearly 40% of websites on the web. It’s fair to say that this is a true testament to the success of WordPress.
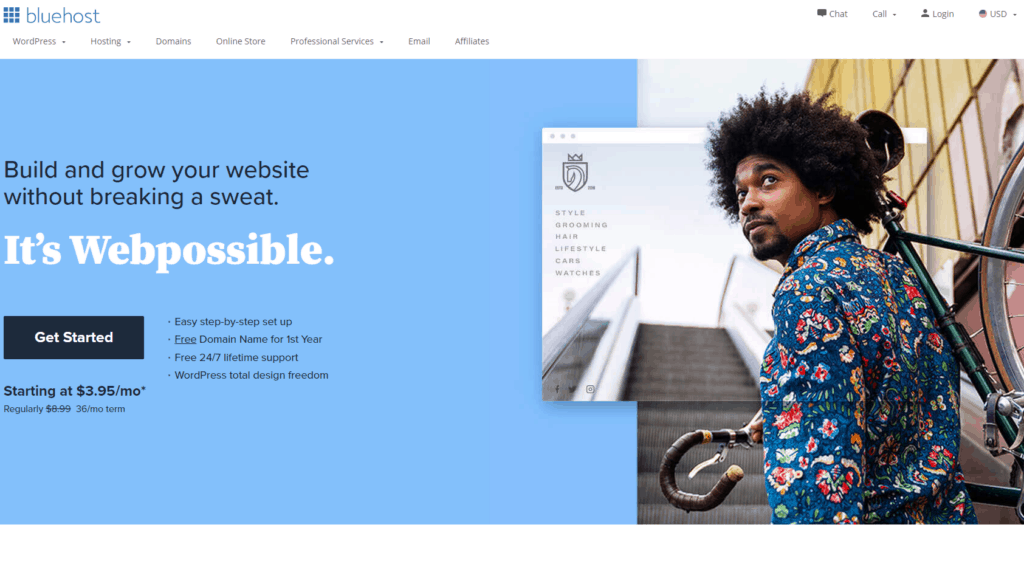
Now that we know we’ll be using Bluehost to make a website. Head on over to the Bluehost landing page and select Get Started. It will look similar to the image below.
After you select Get Started, you will be taken to the select a plan page. Here you will be presented with a table of plans from Basic to Pro. I recommend Choice Plus which is the plan that Bluehost also recommends.
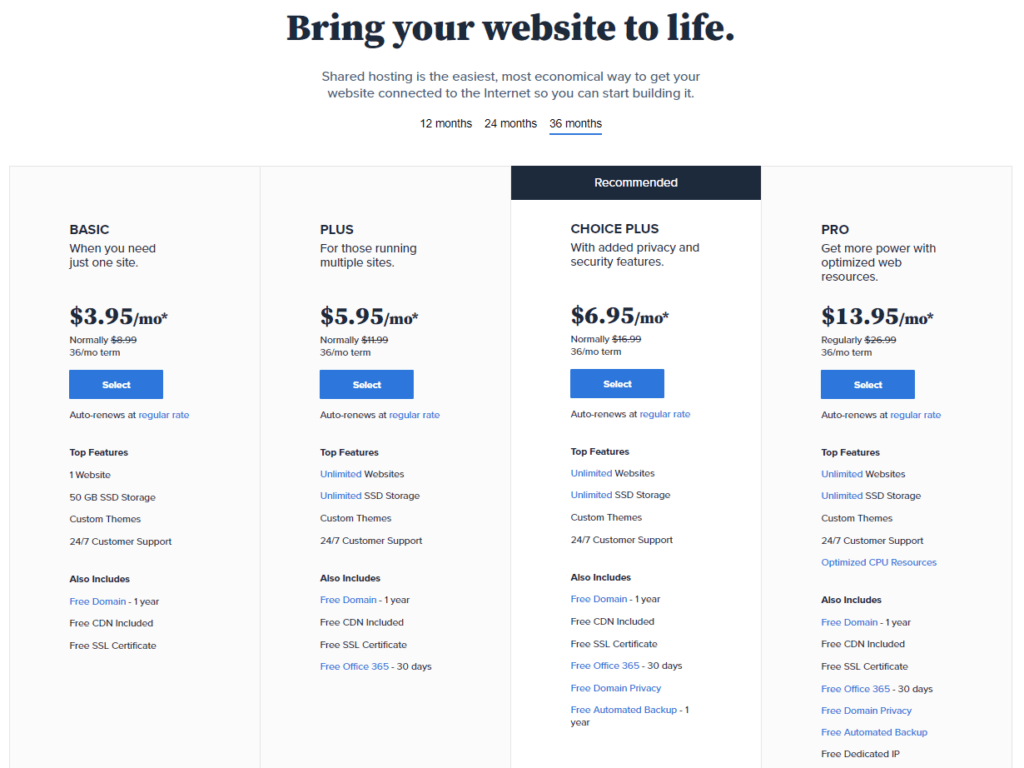
The main reason this plan is recommended is that it provides you with Domain Privacy. This protects your privacy online and provides protection from possible online attacks including email spamming and unsolicited calls.
Trust me this is very important in order to protect your personal data.
You can also select the length of your plan. The options you are given are from 12 to 36 months. The prices will vary depending on the length you choose. Generally the longer you choose the cheaper it will be per month.
Once you select your plan, you will then be asked to choose your free domain name. Choose your domain and select next. You will then be taken to the “Create your account” page, where you can fill in your personal details and payment information.
You don’t need any package extras so I advise deselecting those. I will show you how you can get those features for free later in the guide.
Once you have purchased your plan you will be taken to a congratulations page that will ask you to buy more add ons. You don’t need anything else so skip this.
In the next step, you will be asked to set up a password to access your hosting account. Choose a password, agree to the terms of service and select next. Now you have successfully set up a Bluehost account. Login to your account and continue to the next step.
Step 2. Bluehost Onboarding & Install WordPress Site
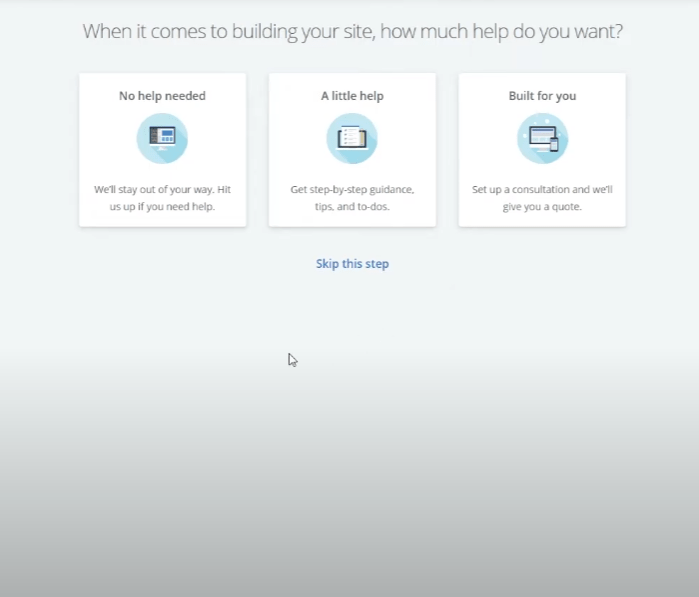
In the first step of onboarding, you will be asked if you need help setting up. Please select “no help needed”.
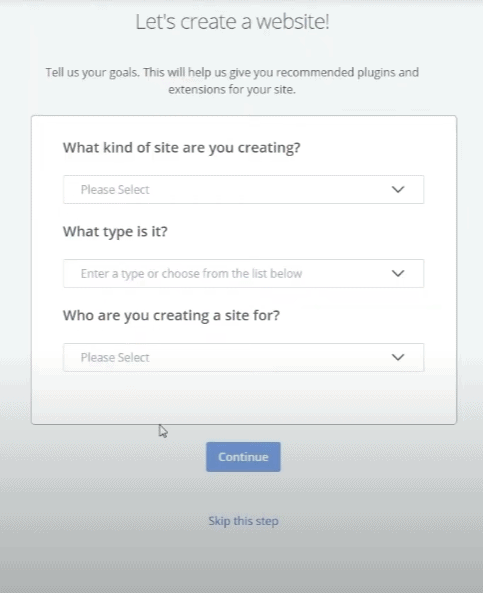
The next step will ask you what type of site you are creating and what it is for. Please also skip this step as I will show you how to do this at a later stage.
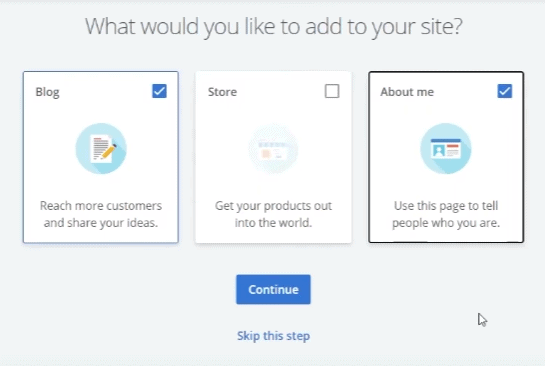
Next, you will be asked what pages you want to add to your site. Please select Blog and About me, then select continue.
The following page will ask you to name your site and add a site tagline. For example, my site name is Kavo Marketing and my tagline is Online Marketing Guides. Yours will be whatever you choose.
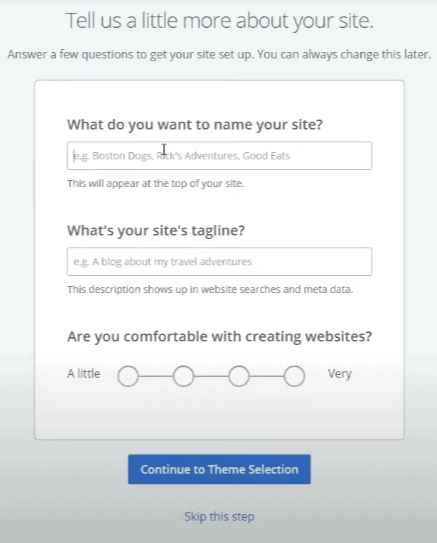
After this, you are asked if you are comfortable creating websites. Select very comfortable, you’ll be an expert at the end of this guide. ?
Next, you will be asked to select the theme you want. We recommend choosing a free theme called Neve. Neve is the theme we use on this website.
The Premium version is packed full of features and it loads super fast. However, we don’t need to get into that now because you’re just beginning. Select Neve and continue.
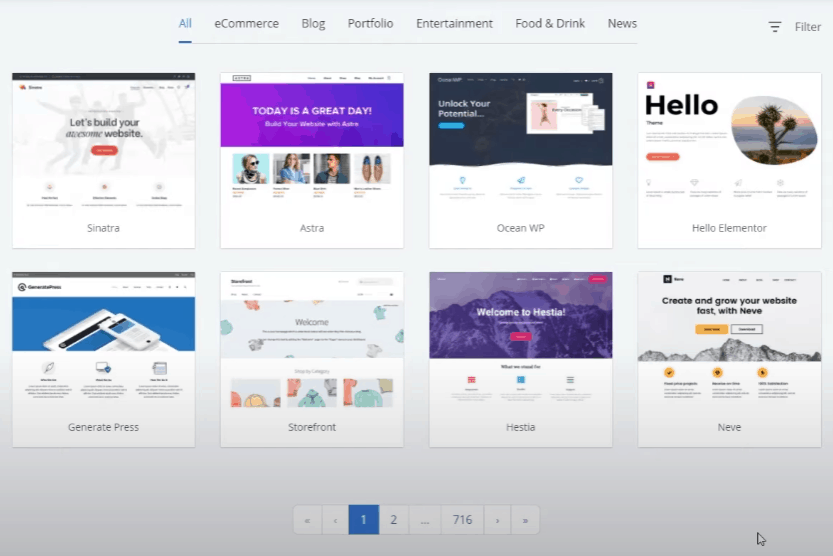
If Neve isn’t offered to you from the select a theme screen, use the search box to find it.
Step 3. Exploring the WordPress Dashboard
So you’ve made it this far, now you officially have a Bluehost account setup. When you log in to the Bluehost Dashboard it will look like the image below.
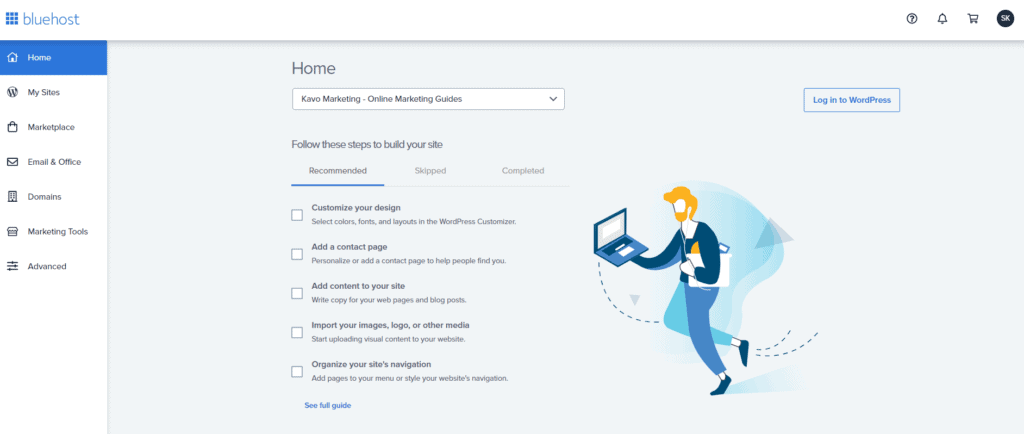
For now, you don’t really need to explore much. The most important step of setting up your WordPress website is clicking on the “Log in to WordPress” button on the Home section of the Dashboard.
Boom, here you are. You’re now in the backend of your website. You could say, this is where the magic happens.
Your Dashboard will look like the image below. I have labeled each important function from 1 to 9. You can find an explanation of each function below.
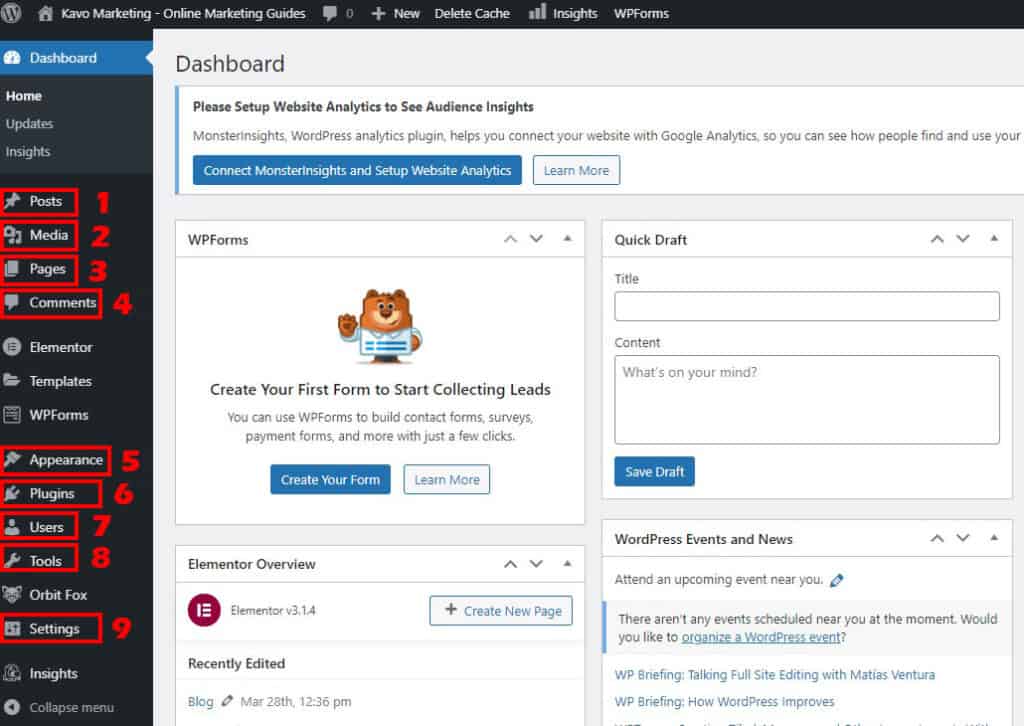
Learning the main WP Dashboard features
- Posts – This is where you add posts like articles and blog posts.
- Media – This allows you to add media files such as images to your site.
- Pages – Here is where you add new pages such as the About page, privacy policy, etc.
- Comments – You can moderate and add comments to your site here.
- Appearance – In this section, you can control how your blog looks such as theme and menu setup.
- Plugins – The Plugins section is used for adding third-party features to your site.
- Users – You can add or remove users here as well as assign roles.
- Tools – The Tools section is mainly used for importing and exporting content from your site. Other tools can display here as you download more onto your site.
- Settings – The Settings section is used for a variety of website configurations including Search Engine Optimization.
It’s a great idea to familiarise yourself with the WP Dashboard. But for now, I will help show you how to make the important adjustments.
Creating a new User in WP
The first thing you do is go to the Users section of the Dashboard. By default, you should have one user named either ‘admin” or “info’ registered on the site.

Above you can see that I have “info” as a user. You need to set up a new user account under your own name. I will show you how to do this below.
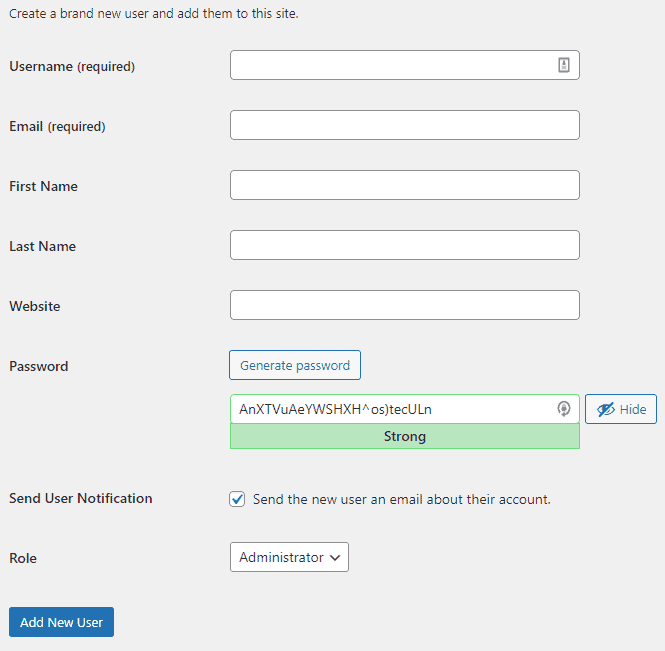
Go to the User section and select “Add New”. When you select this you need to fill in the details. Make sure to assign yourself the Role of Administrator. WordPress will autofill a password for you. Make sure to paste this password as you will need it for the next step.
You should receive an email to the email address you registered when making a new User. Go to that email and you will be given a link to reset your password. The email will look like this:
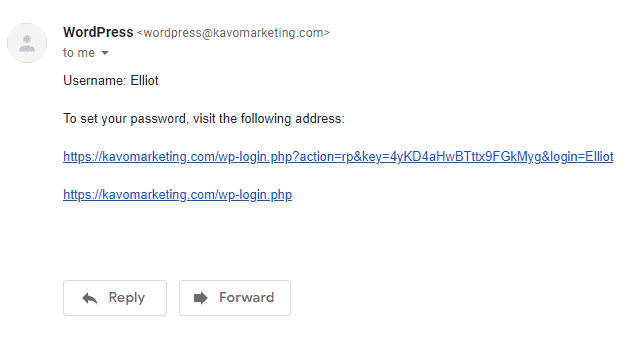
Once you have completed the password reset. Login back into your WordPress Dashboard using the new User details. This will be the main account you will post articles and content from.
There are several other roles you can assign to people using the WordPress admin area on your site. Head on over to how to setup user roles in WordPress for a full breakdown.
Setup Permalinks
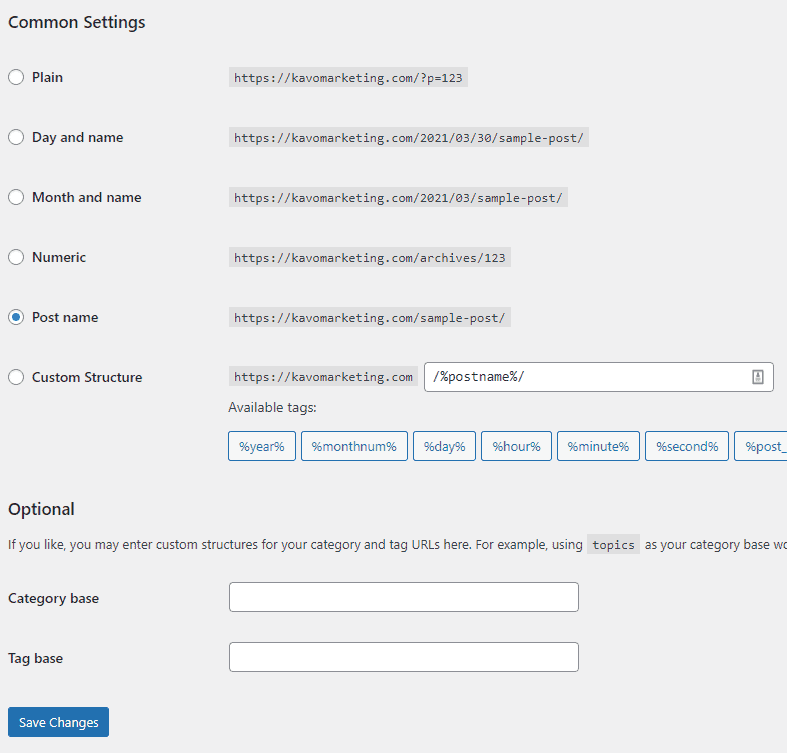
The next step is to set the permalinks. A permalink is the URL you will see when you make a page or a post. It can contain a number of things depending on how you set it. For example, you could have the date or post number included in your post URL.
However, the best way to set your permalinks for Search Engine Optimization is “post name”. The reason for this is that your Domain is the strongest part of your URL. It tells the web that the information is coming from you. So having the post name directly after the domain name is the best setup.
It’s like shouting at Google and saying “Hey I posted this here”, instead of saying “Hey I posted this here but on this date and at this time”. Which is the easier and faster form of communication? I think you get the picture.
Go to the Settings tab on your Dashboard and then go to Permalinks. When you are there select “Post name” and hit Save. That’s it, check the image below if you’re not sure.
Discussion Settings
The Discussion tab is where you can configure a lot of default settings for posts and comments. Most of the time you will only have to do this once and you’re good to go.
Turn off Pingbacks
The first thing to do is Disable pingbacks. Pingbacks and Trackback are features that let other blogs know when something or someone has linked to them.
The problem is this gets very annoying especially when you are linking to other pages on your site and you get a pingback every time. You may not know what this is but trust me and disable it, you’ll thank me later.
Enable or Disable comments
It is entirely up to you whether you want comments open on your site.
It really depends on the website you are creating. I have comments both enabled and disabled on different sites. Comments can be very useful because people can give you feedback on your articles.
However, remember that you will get spam so you will need to set up a good anti-spam plugin. More on that later.
So leave comments on or off it’s your choice.
Not sure whether you’ve setup the comment section correctly? Check out my in-depth guide on how to setup comments on WordPress.
Step 4. Customize Your Theme
A very important part of your website is the theme you choose. The theme is the layout of your site when someone visits. There are literally 1000’s of WP themes to choose from.
There are both free and premium(paid) themes. Most paid themes have a free version you can download.
When you signed up to Bluehost you were asked to choose a theme. In the steps above I said to download Neve. This is the theme I use on this website. It’s a great free theme, especially for beginners.
Learning the Basics
You can upload or customize your theme in the Appearance section of the Dashboard.
To customize the theme, select Customize when in the Appearance menu. This will bring you to the theme customization dashboard.

There are a lot of customization options here and some of them you won’t even use. We will just give you the general rundown of the most important elements.
Home Page Setup
Go to Layout – Homepage Settings – From there select Home as your homepage. You can also select “Blog” as your blog page. Don’t forget to save.
The Colors & Background section is used for customizing the color scheme you want on your site. You can mess around with as much as you want. Don’t forget to hit Save.
Change Header
The header area is the menu at the top of your website. In this section, you can customize the logo and change the color and menu. The theme also provides you with header presets you can choose from.
Step 5. Setting up Plugins
Plugins give your WordPress website superpowers. They literally give your site so many extra features. However, a lot of plugins are useless and will only slow your website down.
Therefore, we have compiled a list of the most important ones for beginners. Some of these may already be installed which is even better.
Backup Plugins – You need to install a backup plugin so you will always have a backup of your site and its database. This is very important in case you make a mistake and need to revert. When you install your site, Jetpack should be installed by default. However, UpdraftPlus is another great backup plugin. When you search for backup plugins you should see them in the top results.
Yoast SEO – Yoast is an all-in-one SEO plugin for WordPress that enables you to improve your SEO efforts by reminding you what you need to change in a post or page before publishing.
ShortPixel Image Optimizer – One of the main things that will slow down your site load times are images. With that said, it is essential that you have a good image optimizer tool.
W3 Total Cache – W3 Total Cache is one of the best cache plugins available for WordPress. It will shave seconds off your website’s load times guaranteed.
WPForms – This plugin allows you to make neat email and contact form templates and easily integrate them into your contact page. Most of the time it comes pre-installed on WordPress.
Now to install the plugins. Simply go to the Plugins tab and click Add New. This will bring up the Plugin store. Use the search tab on the right-hand side and simply search for the plugin by typing in the name.
When you find it, select “Install and then hit “Activate” and you’re good to go.
Step 6. Setting Up Pages
The next step is to setup and create pages for your website. Before I discuss the basic pages that most sites should have. Let’s get familiar with the Pagebuilder. Check out the image below:
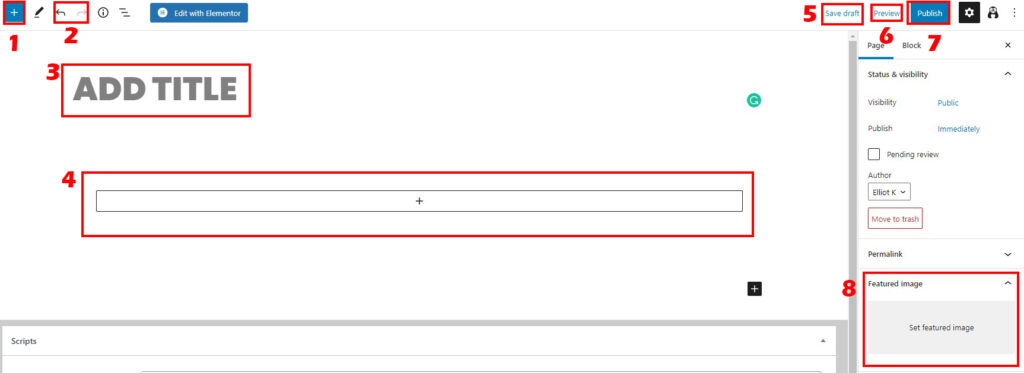
1: Add Block – This allows you to add a block to the page. A block may contain many different text features such as insert a paragraph, button, or heading.
2: Undo and Redo – The symbol on the left is Undo, this allows you to go back if you have made a mistake on the page. Redo does the opposite.
3: Add Title – This is the name of the page. For example, “About Me” or “Privacy Policy”.
4: Add Block – Similar to number 1, this feature lets you add a block to the page.
5: Save Draft – WordPress should autosave the progress of your page. However, “Save Draft” gives you the option to do it manually to make sure.
6: Preview – This button lets you preview the page on your site’s front end before you publish it. The front end is your actual site and what everyone sees when they land on the page.
7: Publish: When the page is complete you can hit Publish to put it live.
8: Featured Image – This gives you the ability to add an image to the top of the page.
Publishing Your First Page
Now that you know the Page layout. Let’s make your first page on WordPress. We’re going to make an “About” page. This is a basic page that all websites will have.
Showing you this once means you’ll be able to make any page. Because making a page is the same process every time.
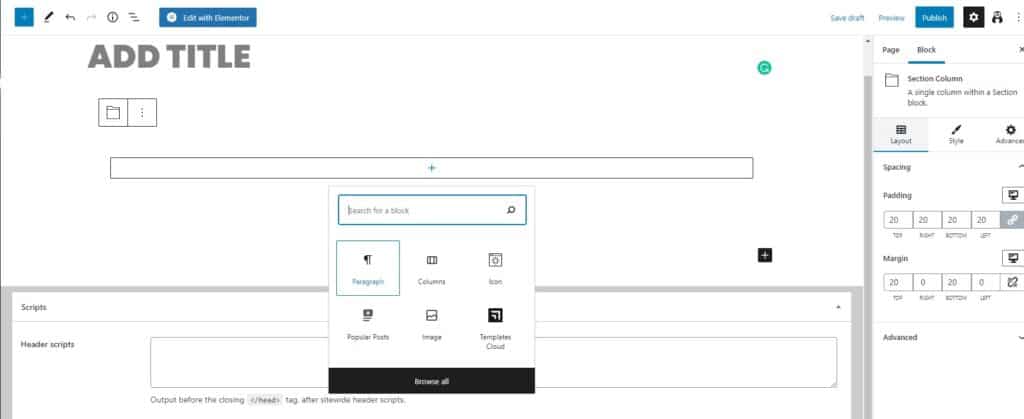
Up first, click on the “Add Title”, name the page “About”. Next, click on the “Add Block” button and add a paragraph. See the image below.
Your About page should explain who you are as a company or individual. You can tell people your history and where you are now. Check out my About page for an idea of what I mean.
Other Page Ideas
There are a few standard pages that every website and or business could have. Below is a list of the most common ones to give you some ideas.
- Privacy Policy – The Privacy Policy informs users on how your website collects data.
- Cookie Policy – The Cookie Policy tells users of your website how cookies work on the site and how they can disable them.
- Contact Page – The contact page provides a form that visitors can fill out if they need to contact you. In WordPress, you can use WPForms as mentioned in step 4 above.
I have a complete in-depth guide dedicated to making your first page in WordPress, I suggested checking out if you want to learn more about WordPress.
Step 7. Navigating Your Website
Now that we have some pages setup, we have to setup the website menus.
The menu is normally at the top and bottom of a webpage on a website.
On a website, the top menu is called the Header Menu and the bottom menu is called the Footer Menu.
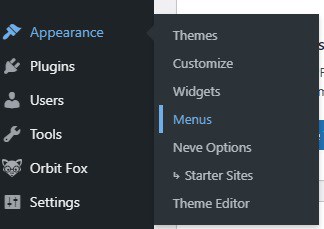
To setup the menu on your website. Go to the Dashboard, then Appearance, and select Menus.
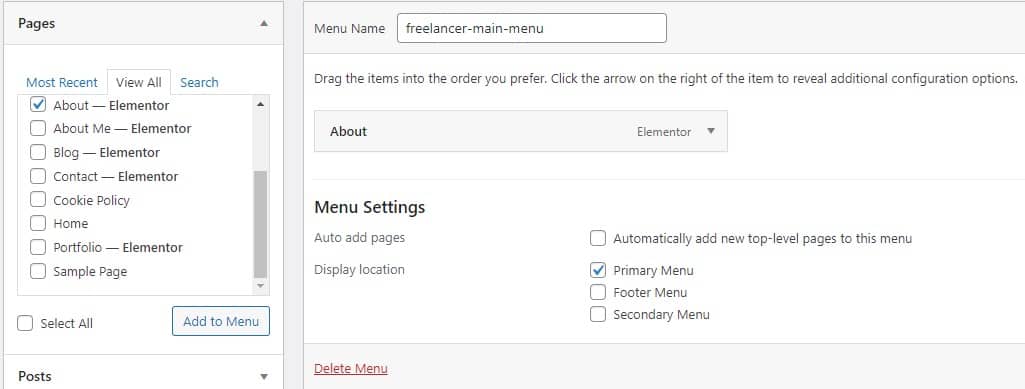
How to use the menu settings
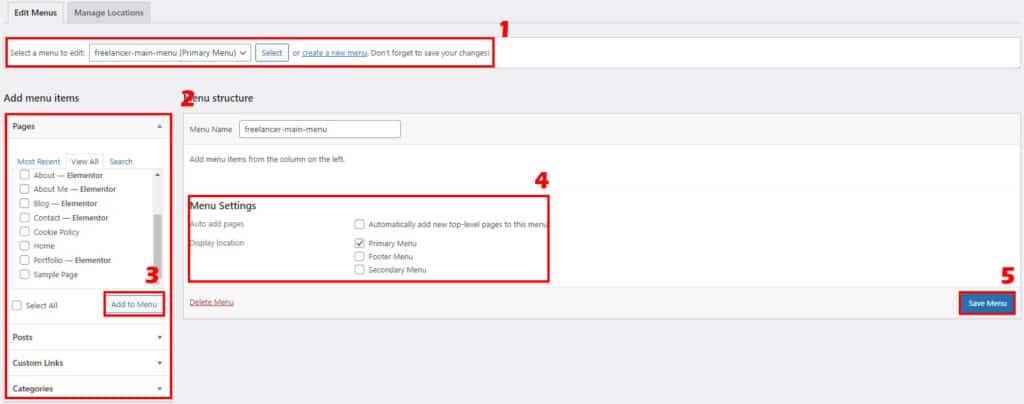
1. Select a menu to edit – You must select a menu to edit each time you want to edit a menu. It will give you the options of Primary Menu and Footer Menu.
2. Add menu items – This provides you with a list of Pages, Posts, Custom Links, and Categories that you wish to add to the menu.
3. Add to Menu – A button for adding the item to the menu.
4. Menu Settings – Here you can select where you want the pages to be added to.
5. Save Menu – Don’t forget to hit the Save Menu button before leaving the page.
Now that you know your way around the menu. It’s time to set it up. We will begin with the Primary Menu.
Go to number 1 and select the menu you want to edit. In this case, it will be the Primary Menu. Click Select to confirm.
Next, use section 2 to add a page to the menu. This time we will add the About page we just created in Step 5 of the guide.
Hover over the About page and click it. A blue tick mark will appear when it is selected.
Click Add to Menu(number 3) to add the item to the menu. When the About page is added it should look like this:
When you have completed this step, you can add anything to any menu going forward. If you want to change the Footer menu, simply select Footer Menu in section 1 of the Menu settings.
Check out this guide if you’re interested in learning more about how to setup menus in WordPress.
Conclusion
I think you’re good to go from here.
So if you’ve gotten to the end of the guide you should:
- Have your website up and running with a Bluehost account.
- Understand the basics of the WordPress Dashboard.
- Know how to work the backend and front end of WordPress
- Know how to post pages and make menus.
However, there are tonnes of other things to learn about WordPress. Take a look around my blog and if there is anything you don’t find make sure to let me know. Visit my contact page to get in touch.